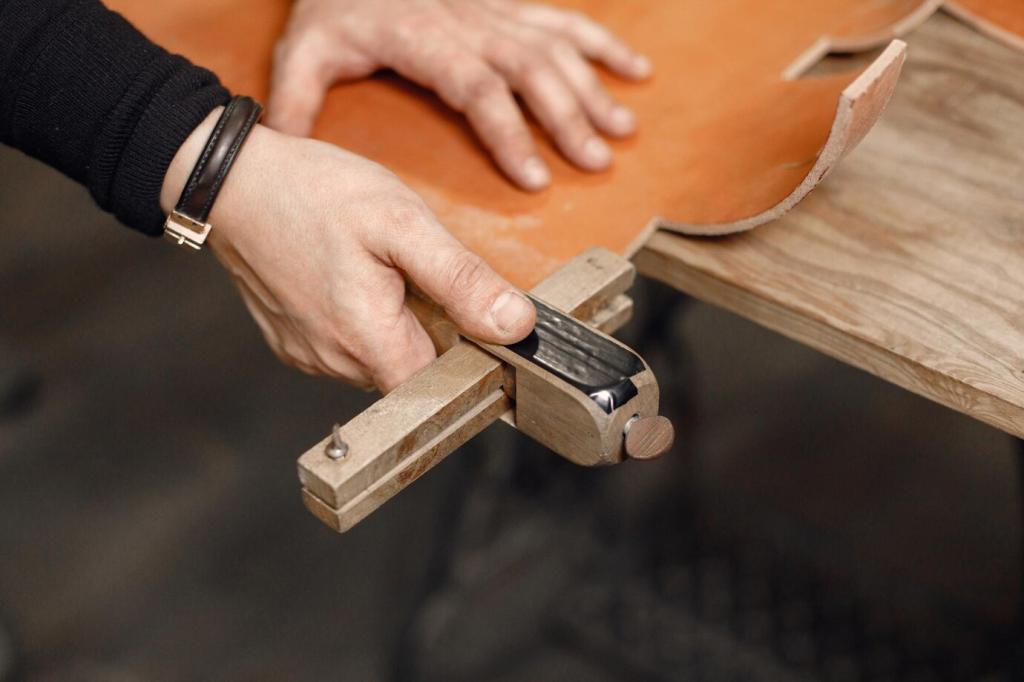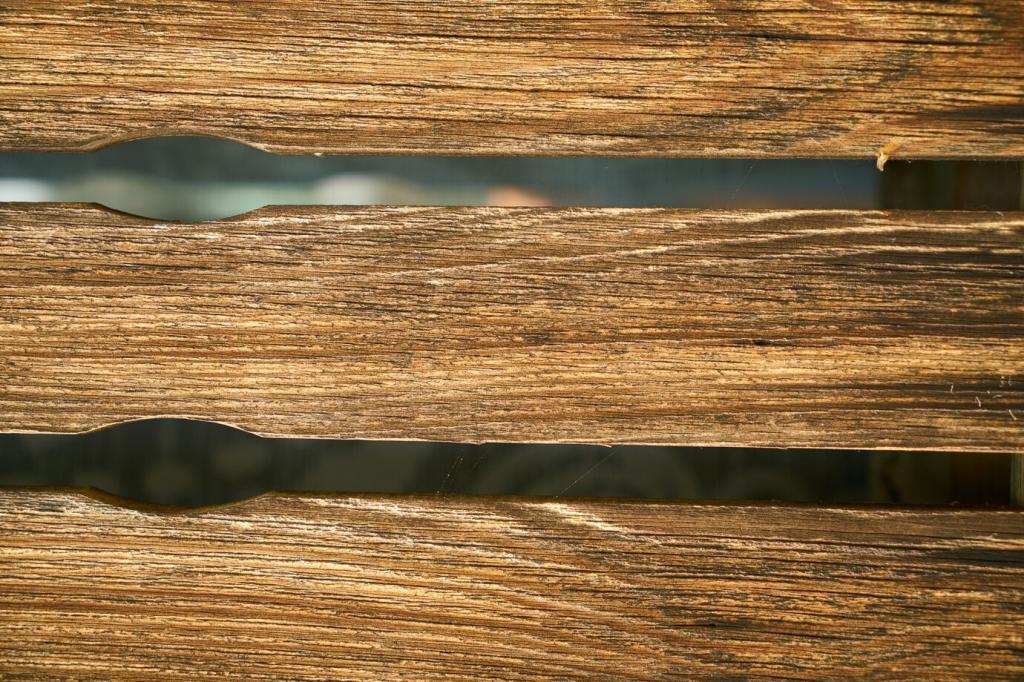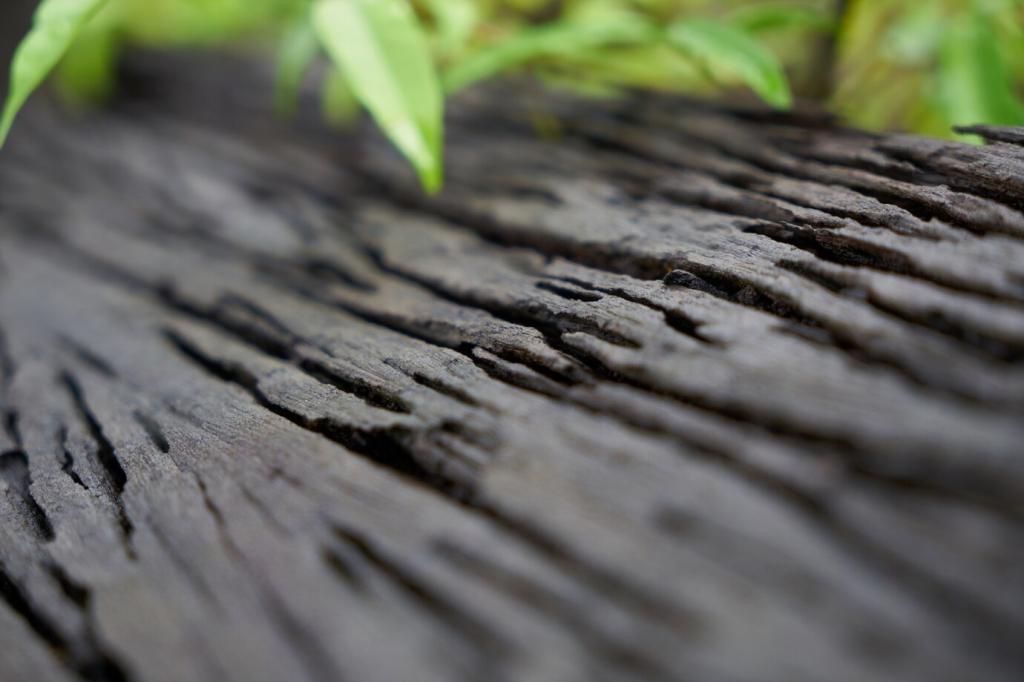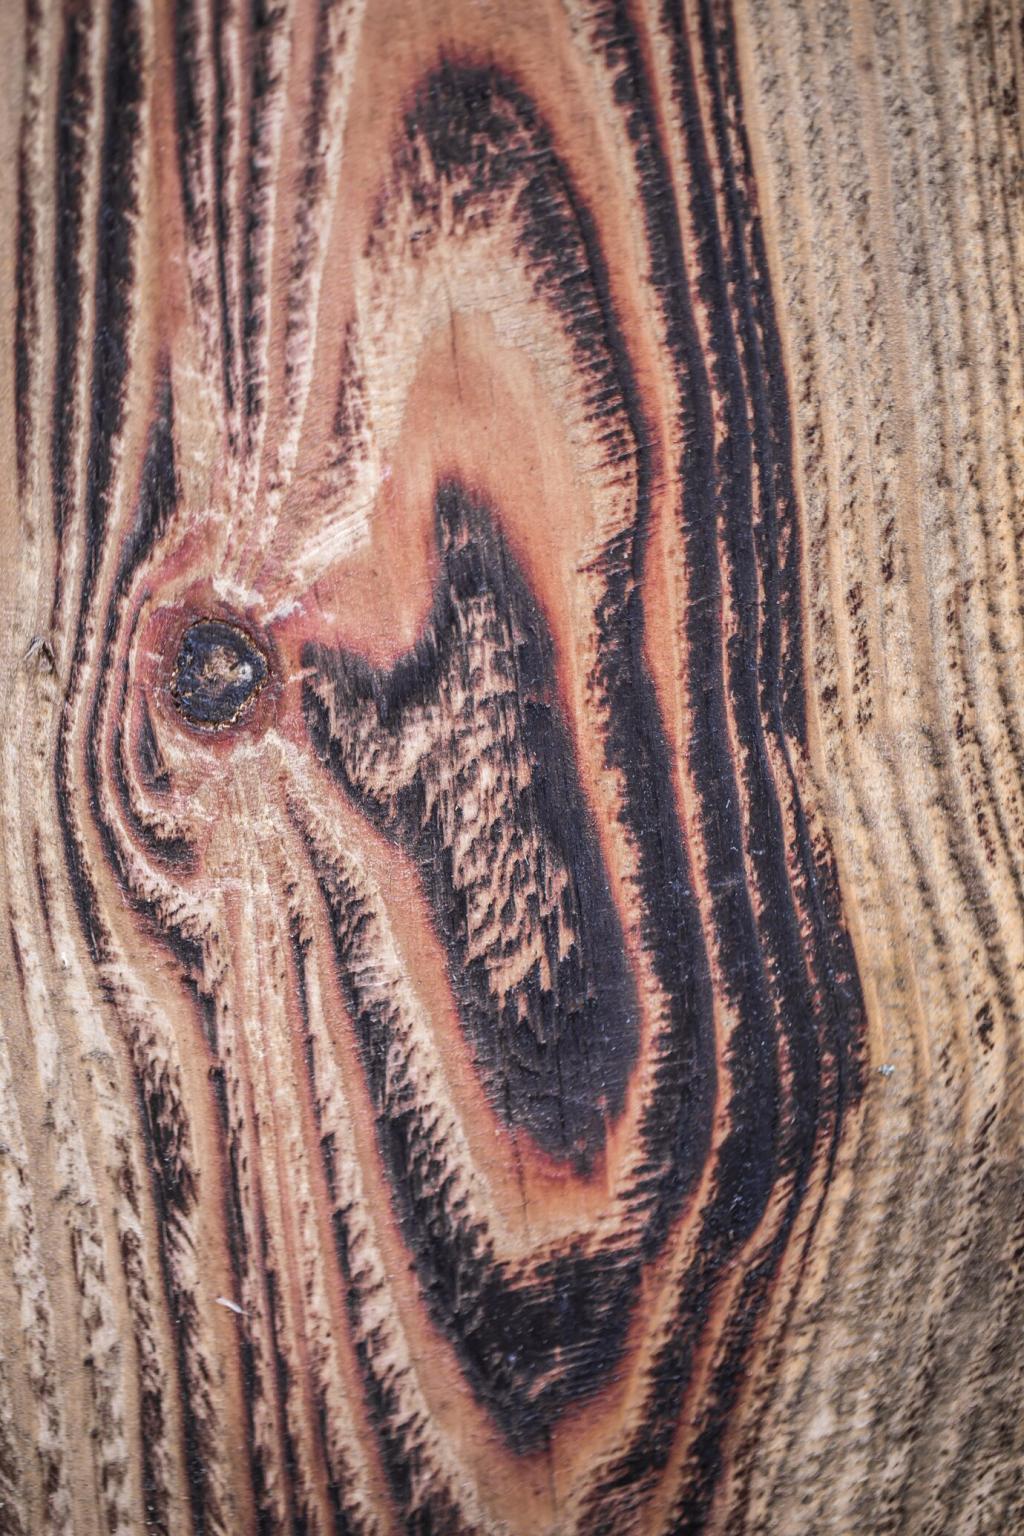
Core Ingredients and Smart Ratios
Start with one part beeswax to three parts oil for a soft, spreadable polish. For a firmer tin, use one to two. In hot climates, add a little extra beeswax; in cold rooms, a touch more oil keeps application smooth and forgiving.
Core Ingredients and Smart Ratios
Jojoba gives stable, long-lasting slip; olive offers rich conditioning; fractionated coconut resists rancidity and stays liquid. For food-contact, use food-grade oils only. Yellow beeswax adds warmth, while white refined wax yields a neutral tone better for pale woods and delicate finishes.
Core Ingredients and Smart Ratios
Carnauba wax boosts hardness and shine, great for tabletops. Pine rosin increases grip and durability for high-wear areas. A few drops of vitamin E can slow oxidation in oils. If using essential oils, keep them minimal and avoid food-contact boards or sensitive finishes.